

Are you looking for a way to turn your weather-worn deck into an inviting outdoor space again? Has it seen better days and now has splinters, cracks, and sun damage, making it unsafe to use? Follow this step-by-step guide to make your deck look brand new again.

Inspect and repair any damage
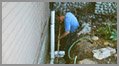
The first thing to do before even thinking about refinishing is to check for any damage. Make sure that all the posts that hold the deck up are in good shape and don’t have any rotting or splintering. Check to make sure that railings are in good condition and feel solid. All the posts holding the deck up should be firmly attached and not leaning or bowing.
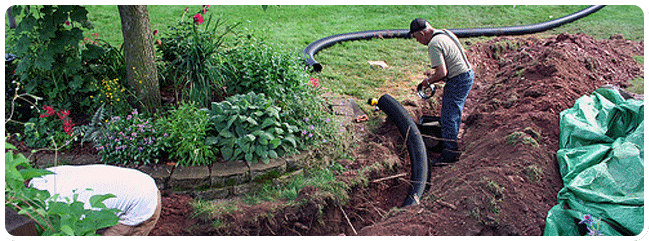
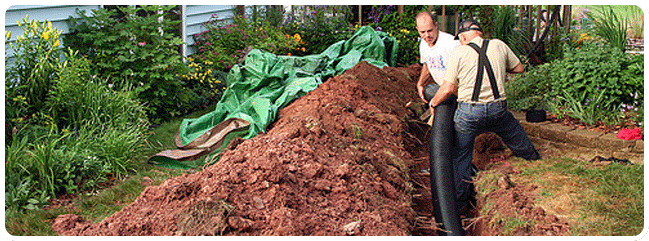
If you find any structural issues, you should call in a pro to do repairs, but there are a few things you can do yourself. For instance, this is also a good time to check for brush and debris because a buildup of dry material under a wooden deck can pose a fire hazard in summer months.
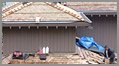
Once you’ve given your deck a good visual inspection, the next step is to check for damage and make repairs to any of the floorboards of the deck and replace any cracked boards with new material. You can accomplish this by unscrewing the damaged area from beam to beam and cutting away the damaged area of the board from halfway across the beam to halfway across the next beam. Screw the existing boards into the beam at each end and then cut a new board to fit the gap and screw it in. If you’re working on a smaller deck, it might be simpler to just replace the whole board rather than cutting out the damaged area. Source: LifeHacker
Strip paint or stain
If the deck was previously painted or stained, then the old stain or paint will need to be removed during the deck restoration process. Research appropriate paint or stain stripping products to find a suitable option for your deck.
Fill a pump sprayer with the stripping solution, then gradually saturate the deck in sections measuring about 20 square feet, working your way around the entire deck. Don’t forget to use the stripping solution on the railings and stairs, as well as the main surface of the deck.
Use a stiff-bristle broom or brush to work the stripper into the coated areas. Let the paint stripper stand for about 15 minutes or as directed by the product manufacturer, then rinse the deck thoroughly to remove any remaining paint, stain, or stripper.
Clean dirt and debris
Both previously stained decks and decks that were not previously stained, painted, or sealed should be cleaned with a pressure washer to remove any dirt, dust, or stuck on debris. To avoid damaging the wood, make sure to test the pressure washer at a lower setting first, before gradually increasing the power of the spray. Source: TheSpruce
Sand the deck
A smooth surface is essential for an even, long-lasting stain application. Using coarse (60-grit or lower, if available) sandpaper and a sanding pole, sand the deck’s surface. If you’re refinishing the railings, use an electric sander or sanding block. Sweep or vacuum away any dust. Make sure you’re wearing safety glasses and a mask so you don’t inhale any dust.
Stain and seal
Before you begin staining, ensure that the weather forecast doesn’t predict rain: Most stains need time to set before getting wet.
If your deck is newer and the wood still has much of its original color and luster, a transparent stain can add shine without color. For older decks, or if you’re looking to impart a totally new color onto the wood, a semitransparent or colored stain would be a better choice. Apply the stain with a synthetic brush, starting with the railings, and follow the directions for your particular brand. Some varieties of stain will be applied with the grain, while others will be applied cross-grain. Start with a thin coat of stain, as it’s easier to add more but nearly impossible to remove excess stain.
Many stains and sealers come together in one product, which means a one-step application. If your stain does not include a sealant, follow the manufacturer’s instructions and apply a sealant on top of the stain. Source: BobVila
If, at any point, you feel like the job has become too much and are feeling overwhelmed, never hesitate to call a professional for help! Whether it’s through giving advice or taking over the project from start to finish, our team of professionals is here to assist you.
Contact:
Kerrisdale Roofing & Drains
168 W 71st Ave, Vancouver, BC V5X 4S7
(604) 360-2114